


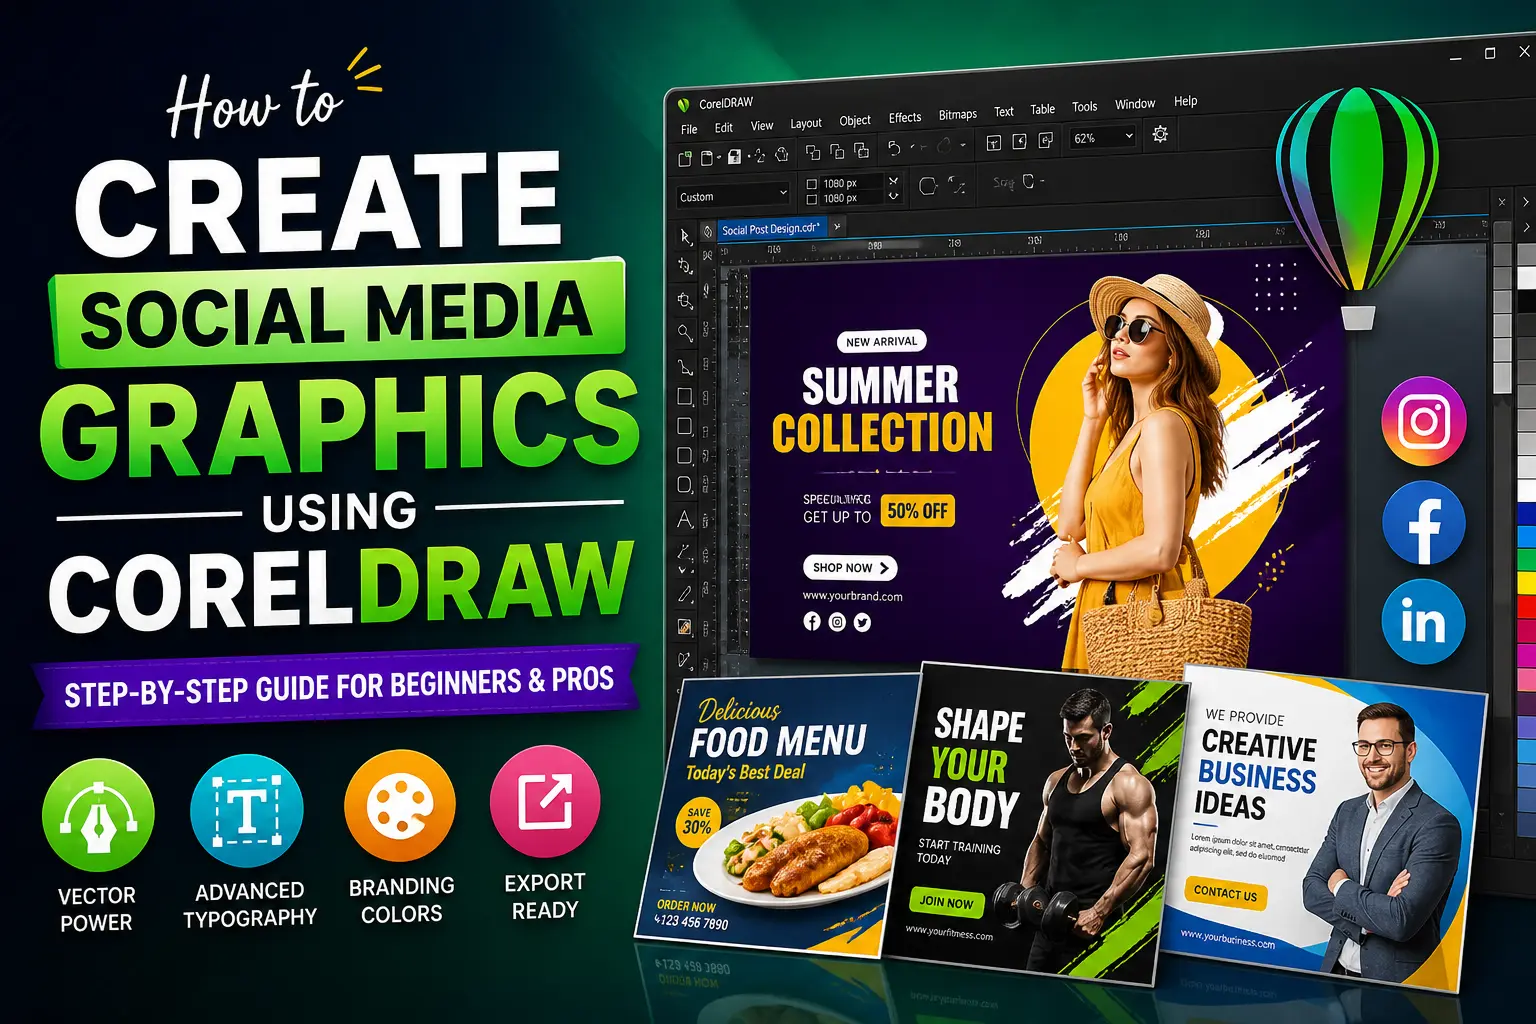
In today’s fast-paced digital world, social media graphics are one of the most powerful tools for grabbing attention, building brand identity, and increasing engagement.
Whether you’re a beginner or a professional designer, mastering social media design in CorelDRAW can help you create high-quality visuals that stand out.
Social platforms are crowded, and attention spans are shorter than ever. Studies show that people process visuals much faster than text, making graphic content essential for success . This is why businesses, influencers, and creators rely heavily on eye-catching designs.
In this detailed guide, you’ll learn everything about creating social media graphics using CorelDRAW—from basics to advanced techniques.
1. What is CorelDRAW?
CorelDRAW is a professional vector graphics design software used for creating logos, illustrations, marketing materials, and social media graphics. It is part of the CorelDRAW Graphics Suite, which includes tools for both vector design and photo editing.
Unlike raster-based tools, CorelDRAW uses vector graphics, meaning your designs remain sharp at any size.
2. Why Use CorelDRAW for Social Media Graphics
Here are some reasons why CorelDRAW is perfect for social media design:
1. Vector-Based Precision
Designs remain crisp and scalable without losing quality.
2. Advanced Typography Tools
Perfect for quote posts, ads, and banners.
3. Built-in Templates
You can start quickly with ready-made layouts.
4. Powerful Color Controls
Maintain consistent branding across platforms.
5. Multi-Page Design Support
Ideal for carousel posts and campaigns.
3. Understanding Social Media Design Basics
Before designing, you must understand:
1. Purpose of the Post
- Promotion
- Engagement
- Branding
2. Target Audience
Different audiences respond to different styles.
3. Platform-Specific Design
Each platform requires unique dimensions and formats .
4. Social Media Image Sizes (Important)
Here are commonly used sizes:
| Platform | Size |
|---|---|
| Instagram Post | 1080 × 1080 px |
| Instagram Story | 1080 × 1920 px |
| Facebook Post | 1200 × 630 px |
| LinkedIn Post | 1104 × 736 px |
| YouTube Thumbnail | 1280 × 720 px |
Using correct sizes prevents cropping and distortion .
5. CorelDRAW Interface Overview
Before starting, understand the workspace:
Key Components:
- Toolbox (Left side)
- Property Bar (Top)
- Color Palette (Right side)
- Drawing Page (Center)
Important Tools:
- Pick Tool
- Shape Tool
- Text Tool
- Rectangle Tool
- Ellipse Tool
6. Setting Up Your First Design
Step 1: Open CorelDRAW
Click File → New
Step 2: Set Dimensions
Example:
- Width: 1080 px
- Height: 1080 px
- Color Mode: RGB
Step 3: Choose Resolution
- Recommended: 72–300 DPI
7. Step-by-Step: Creating Social Media Graphics
Step 1: Create Background
- Use Rectangle Tool
- Fill with solid color or gradient
👉 Tip: Use gradients for modern designs
Step 2: Add Images
- Import image (Ctrl + I)
- Adjust size and position
Use high-quality visuals for better results .
Step 3: Add Text
- Select Text Tool
- Write headline
👉 Keep text short and clear for readability
Step 4: Apply Colors
- Use brand colors
- Maintain consistency
Consistent visuals help build trust and recognition .
Step 5: Add Shapes & Icons
- Use icons for visual storytelling
- Use shapes for highlights
Step 6: Create Visual Hierarchy
Make important elements stand out:
- Bigger text
- Bold colors
- Center placement
Step 7: Add Call-to-Action (CTA)
Examples:
- “Shop Now”
- “Follow Us”
- “Learn More”
Step 8: Align and Balance
Use alignment tools for clean layout.
8. Working with Text and Typography
Typography is key in social media design.
Tips:
- Use 2–3 fonts only
- Use bold headings
- Ensure readability
9. Using Colors and Branding
Color Psychology:
- Red → Urgency
- Blue → Trust
- Green → Calm
Use consistent color palettes to strengthen branding.
10. Adding Images and Effects
CorelDRAW allows:
- Drop shadows
- Transparency
- Blur effects
Use effects wisely to avoid clutter.
11. Using Templates in CorelDRAW
CorelDRAW provides templates for:
- Facebook covers
- Banners
- Ads
- Posts
Templates save time and improve consistency.
12. Exporting Graphics for Social Media
Step 1: File → Export
Step 2: Choose format:
- JPG (small size)
- PNG (high quality)
Step 3: Set quality
- Use high quality for best results
13. Advanced Design Techniques
1. Use Layers
Organize elements easily
2. Use Transparency
Create depth
3. Use PowerClip
Place images inside shapes
4. Use Gradient Mesh
Create realistic effects
14. Pro Tips for High Engagement
1. Keep It Simple
Less clutter = more engagement
2. Focus on One Message
Avoid confusion
3. Use Contrast
Improves visibility
4. Test Designs
Check on different screens
15. Common Mistakes to Avoid
❌ Too much text
❌ Low-quality images
❌ Poor color contrast
❌ Ignoring platform sizes
❌ No clear CTA
16. Conclusion
Creating social media graphics using CorelDRAW is a powerful skill that can significantly boost your online presence.
By combining design principles, creativity, and the right tools, you can produce professional-quality graphics that capture attention and drive engagement.
Start with the basics, practice regularly, and gradually experiment with advanced features. Over time, you’ll develop your own unique style and workflow.
Final Tip
Consistency is more important than perfection. Keep designing, keep improving, and your social media visuals will eventually stand out.