


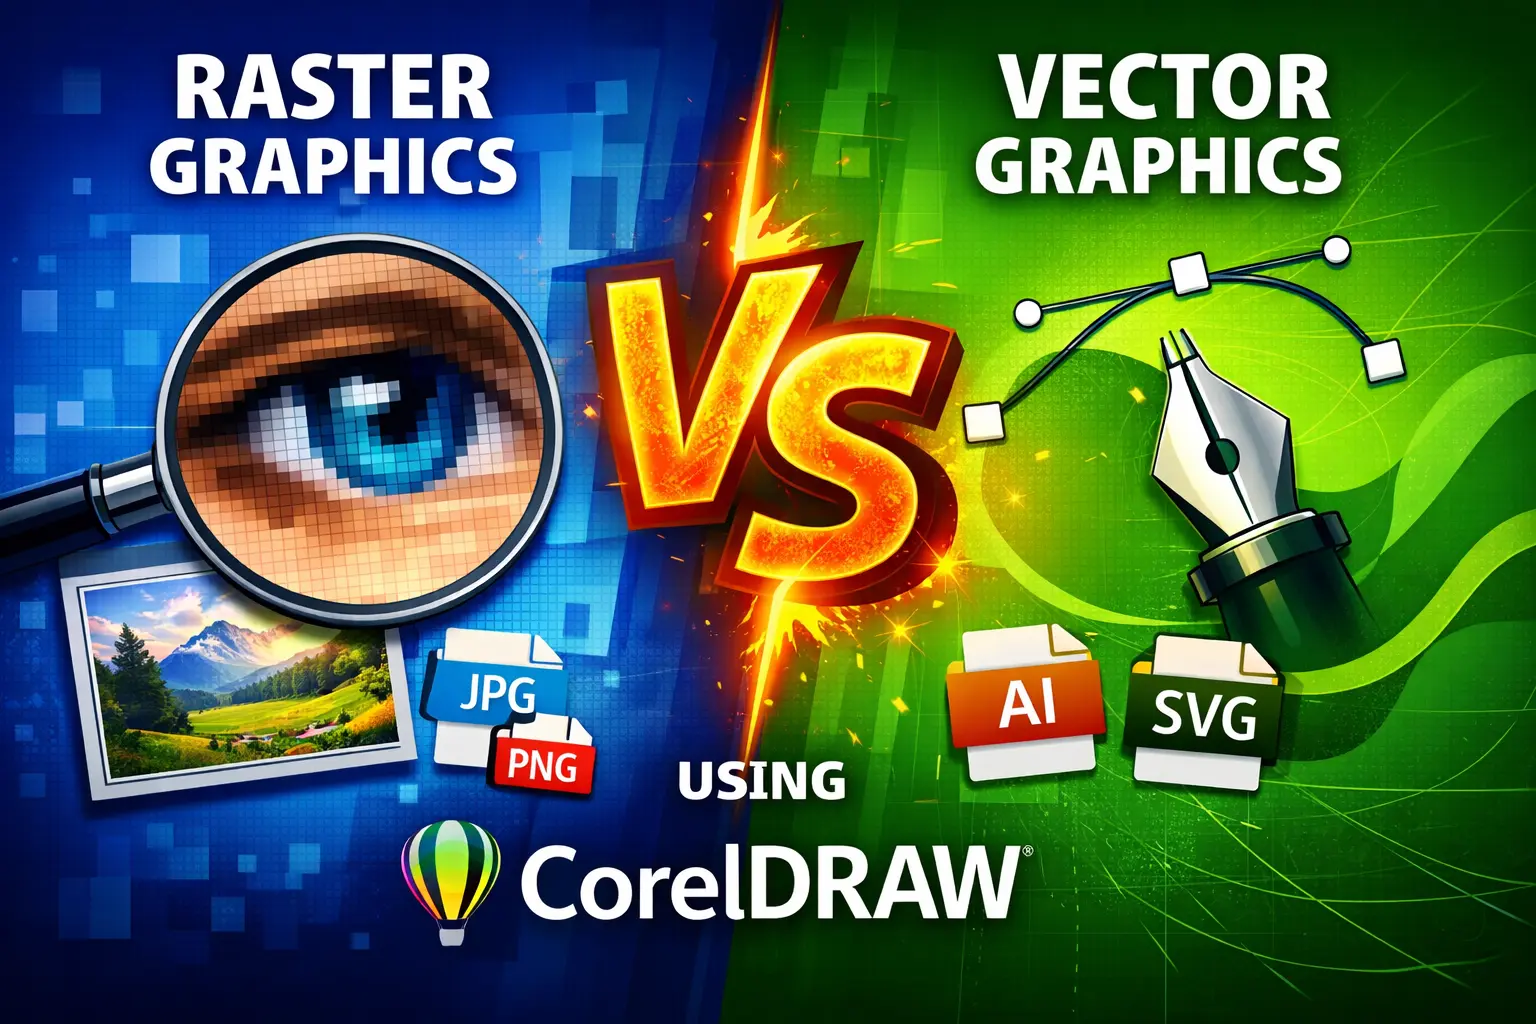
If you’re stepping into the world of graphic design, one of the first and most important concepts you’ll encounter is Raster vs Vector Graphics.
Understanding this difference is not just theoretical—it directly impacts the quality, scalability, and usability of your designs.
Whether you are creating logos, social media posts, website graphics, or print designs, knowing when to use raster or vector graphics can save you time, improve your workflow, and make your designs look professional.
In this comprehensive guide, we’ll break down:
- What raster graphics are
- What vector graphics are
- Key differences between them
- Real-world use cases
- How to work with both using CorelDRAW
- Pro tips for designers
Let’s dive in.
What Are Raster Graphics?
Raster graphics, also known as bitmap images, are made up of tiny squares called pixels. Each pixel contains color information, and together they form the complete image.
Key Characteristics of Raster Graphics
- Made of pixels
- Resolution-dependent
- Fixed size
- Can lose quality when scaled
Common Raster File Formats
- JPEG (.jpg)
- PNG (.png)
- GIF (.gif)
- BMP (.bmp)
- TIFF (.tiff)
Examples of Raster Graphics
- Photographs
- Digital paintings
- Website images
- Social media graphics
How Raster Works in CorelDRAW
In CorelDRAW, raster images are often imported for editing or tracing. You can:
- Adjust brightness, contrast, and color
- Apply filters and effects
- Convert raster to vector using PowerTRACE
What Are Vector Graphics?
Vector graphics are made using mathematical equations rather than pixels. These equations define shapes like lines, curves, and polygons.
Key Characteristics of Vector Graphics
- Resolution-independent
- Infinitely scalable
- Smaller file size (usually)
- Editable shapes and paths
Common Vector File Formats
- CDR (CorelDRAW file)
- AI (Adobe Illustrator)
- SVG (Scalable Vector Graphics)
- EPS (Encapsulated PostScript)
- PDF (vector-supported)
Examples of Vector Graphics
- Logos
- Icons
- Illustrations
- Typography designs
How Vector Works in CorelDRAW
CorelDRAW is primarily a vector design software, so it excels at:
- Creating logos
- Designing illustrations
- Working with typography
- Creating scalable designs
Raster vs Vector Graphics: Key Differences
| Feature | Raster Graphics | Vector Graphics |
|---|---|---|
| Structure | Pixels | Mathematical paths |
| Scalability | Loses quality | Infinite scaling |
| File Size | Larger | Smaller |
| Editing | Limited | Highly flexible |
| Best For | Photos | Logos & illustrations |
| Resolution | Dependent | Independent |
Understanding Resolution (Very Important)
What is Resolution?
Resolution refers to the number of pixels in an image, usually measured in DPI (Dots Per Inch).
Raster Graphics
- High resolution = better quality
- Low resolution = pixelated image
Vector Graphics
- No resolution issues
- Always sharp at any size
Zoom Test: Raster vs Vector
Try this in CorelDRAW:
- Import a raster image and zoom in → it becomes blurry
- Create a vector shape and zoom in → remains sharp
This is the biggest practical difference.
When to Use Raster Graphics
Raster graphics are best when working with complex visuals and color details.
Use Raster For:
- Photography
- Realistic artwork
- Social media images
- Website banners
- Digital ads
When to Use Vector Graphics
Vector graphics are ideal for scalable and professional designs.
Use Vector For:
- Logos
- Business cards
- Branding materials
- Icons
- Print designs
CorelDRAW Workflow: Raster vs Vector
Working with Raster in CorelDRAW
Step 1: Import Image
File → Import → Select image
Step 2: Edit Image
Use tools like:
- Adjust → Brightness/Contrast
- Effects → Blur/Sharpen
- Bitmap → Convert options
Step 3: Convert to Vector (Optional)
Use PowerTRACE:
- Select image
- Click “Trace Bitmap”
- Choose outline type
Working with Vector in CorelDRAW
Step 1: Use Shape Tools
- Rectangle tool
- Ellipse tool
- Polygon tool
Step 2: Use Pen Tool
Create custom shapes and paths
Step 3: Edit Nodes
- Convert curves
- Adjust anchor points
PowerTRACE: Convert Raster to Vector
CorelDRAW’s PowerTRACE is a powerful feature that allows you to convert raster images into vector graphics.
Steps:
- Import raster image
- Select image
- Click “Trace Bitmap”
- Choose style (Logo, Line Art, etc.)
- Adjust settings
- Click OK
Best Use Cases:
- Logo recreation
- Image simplification
- Illustration creation
Advantages of Raster Graphics
- Rich detail and color
- Perfect for photography
- Easy to create
- Widely supported
Disadvantages of Raster Graphics
- Pixelation on scaling
- Larger file sizes
- Limited editing flexibility
Advantages of Vector Graphics
- Infinite scalability
- Clean and sharp output
- Easy editing
- Smaller file size
Disadvantages of Vector Graphics
- Not suitable for complex images
- Requires skill to create
- Less realistic compared to raster
Real-World Examples
Example 1: Logo Design
Use vector graphics for scalability.
Example 2: Instagram Post
Use raster graphics for rich visuals.
Example 3: Billboard Design
Use vector graphics to avoid pixelation.
Example 4: Photography Editing
Use raster graphics.
File Size Comparison
- Raster images (high resolution) → Large size
- Vector files → Smaller size
However, complex vector files can also become large.
Print vs Digital Usage
For Print
Use vector whenever possible:
- Sharp output
- No quality loss
For Digital
Use raster for:
- Photos
- Social media
Common Beginner Mistakes
- Using raster logos
- Scaling raster images too much
- Ignoring resolution
- Not converting images properly
- Exporting in wrong format
Pro Tips for Designers
- Always design logos in vector format
- Use high-resolution images for raster work
- Learn PowerTRACE for efficiency
- Combine both formats smartly
- Export correctly based on use case
Combining Raster and Vector in CorelDRAW
CorelDRAW allows hybrid designs:
- Use raster images as background
- Add vector elements on top
- Create professional compositions
Export Settings Guide
For Web
- Format: PNG/JPEG
- Resolution: 72 DPI
For Print
- Format: PDF/EPS
- Resolution: 300 DPI
Future of Graphics Design
With AI tools and modern design software, the use of both raster and vector is increasing. Designers who master both will have a significant advantage.
Conclusion
Understanding Raster vs Vector Graphics is a fundamental skill every designer must master.
- Raster = Detail & realism
- Vector = Scalability & precision
Using CorelDRAW, you can effectively work with both formats and even convert between them using powerful tools like PowerTRACE.
If you want to become a professional designer, learn when and how to use each type—and most importantly, practice regularly.
FAQs
Which is better: raster or vector?
It depends on your project. Use raster for photos and vector for scalable designs.
Can CorelDRAW edit raster images?
Yes, but it is mainly a vector software.
What is PowerTRACE?
A tool in CorelDRAW used to convert raster images into vector graphics.
Is PNG raster or vector?
PNG is a raster format.
Can vector images lose quality?
No, vector images are resolution-independent.