


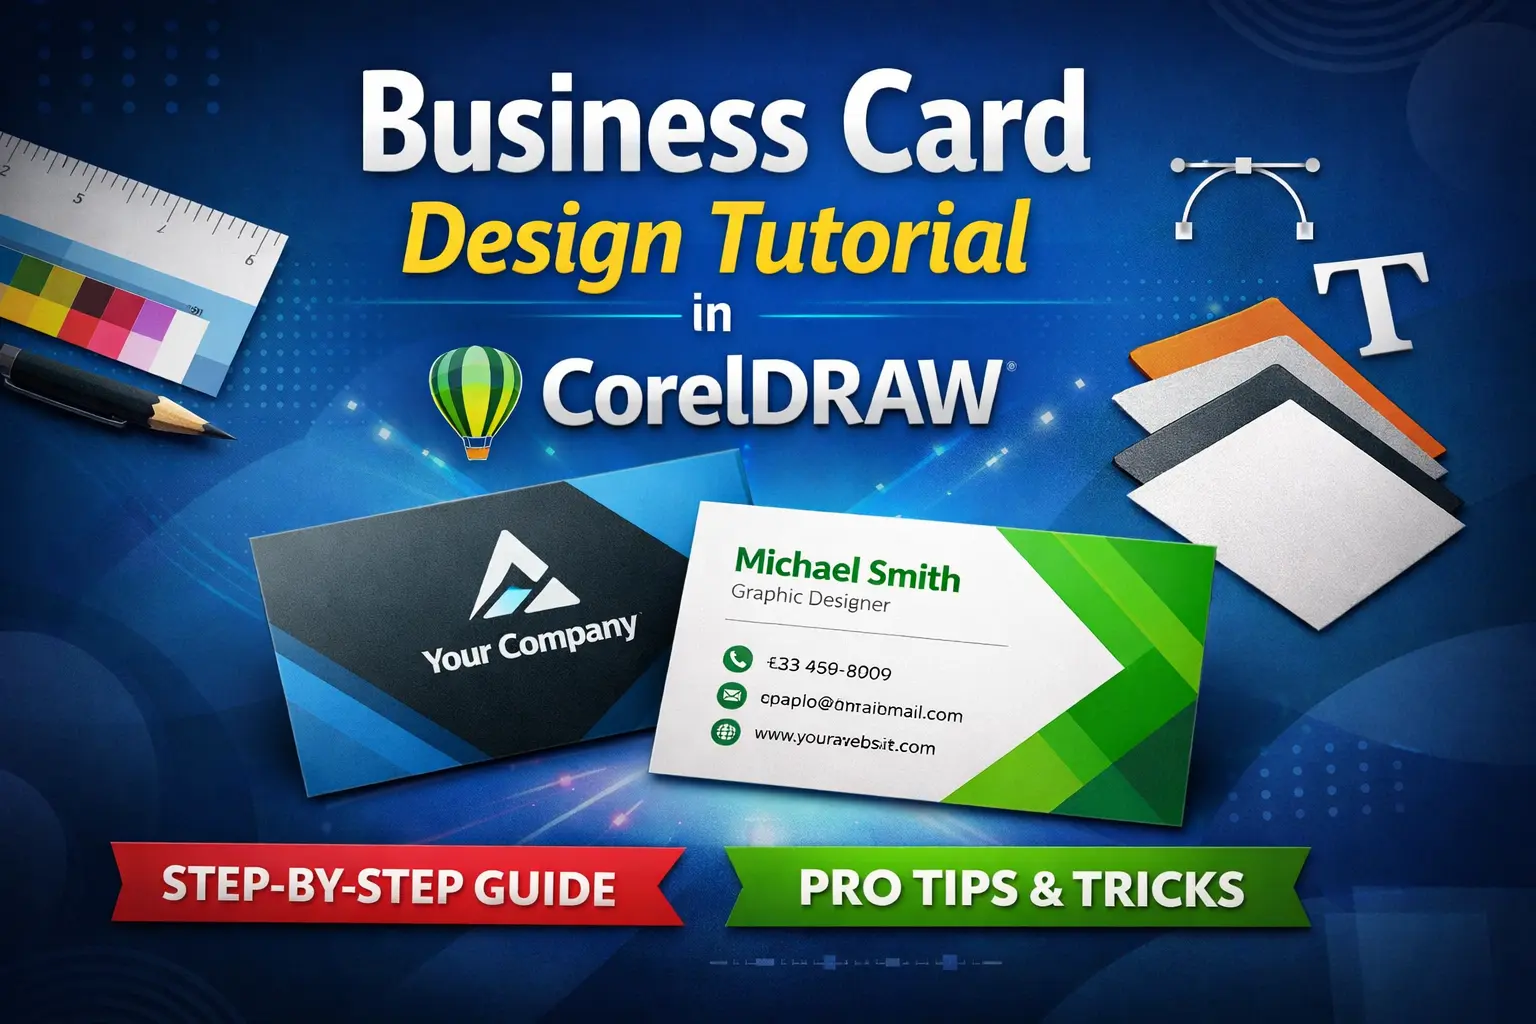
In today’s competitive business world, your business card is more than just a piece of paper—it’s your first impression.
A well-designed business card reflects your brand identity, professionalism, and attention to detail. Whether you’re a freelancer, entrepreneur, or designer, mastering business card design is an essential skill.
CorelDRAW is one of the most powerful graphic design tools used worldwide for creating professional print designs.
In this comprehensive tutorial, you’ll learn how to design a high-quality business card in CorelDRAW from scratch, even if you’re a beginner.
This guide covers everything—from setting up your document and understanding dimensions to typography, color selection, branding, and preparing files for print.
1. What is a Business Card?
A business card is a small printed card that contains essential information about a person or company, such as:
- Name
- Job title
- Company name
- Phone number
- Email address
- Website
- Social media handles
It acts as a networking tool that helps people remember you and your brand.
2. Importance of a Professional Business Card
A professionally designed business card:
- Builds trust and credibility
- Reflects your brand identity
- Helps in networking and marketing
- Creates a lasting impression
- Differentiates you from competitors
3. Introduction to CorelDRAW for Beginners
CorelDRAW is a vector-based graphic design software used for:
- Logo design
- Print media design
- Business cards
- Brochures and flyers
- Branding materials
Key features include:
- Precision design tools
- Advanced typography options
- Color management system
- Export options for print and web
4. Understanding Business Card Dimensions
The standard business card size varies by region:
Standard Sizes:
- India: 3.5 x 2 inches (88.9 mm x 50.8 mm)
- USA: 3.5 x 2 inches
- Europe: 85 mm x 55 mm
Always confirm with your printer before designing.
5. Setting Up Your Document in CorelDRAW
Follow these steps:
Step 1: Open CorelDRAW
Launch the software and click on New Document.
Step 2: Set Document Size
- Width: 3.5 inches
- Height: 2 inches
- Orientation: Landscape
Step 3: Set Units
Choose inches or millimeters.
Step 4: Set Color Mode
Choose CMYK for print.
6. Understanding Bleed, Margin, and Safe Area
Bleed Area
Extra space beyond the edge to avoid white borders after cutting.
- Typically: 3 mm (0.125 inch)
Margin (Safe Area)
Keep important text inside this area to avoid cutting issues.
Trim Line
Final cut size of the card.
7. Choosing the Right Color Mode (CMYK vs RGB)
CMYK (Recommended for Print)
- Cyan, Magenta, Yellow, Black
- Accurate printing colors
RGB (For Screens)
- Red, Green, Blue
- Not suitable for printing
8. Designing the Front Side of the Business Card
Let’s create a clean, professional front design.
Step 1: Add Background
- Use Rectangle Tool
- Fill with solid color or gradient
Step 2: Add Logo
- Import your logo (File > Import)
- Place it strategically
Step 3: Add Name and Title
- Use Text Tool
- Choose readable fonts
Example:
- Name: Bold font
- Title: Light font
Step 4: Add Contact Details
Include:
- Phone
- Website
9. Designing the Back Side of the Business Card
Options for backside design:
- Logo only
- Tagline
- QR code
- Minimal design
Keep it clean and uncluttered.
10. Typography Tips for Business Cards
Typography plays a crucial role:
Best Practices:
- Use 2 fonts maximum
- Maintain hierarchy
- Use readable font sizes
Recommended Font Sizes:
- Name: 10–14 pt
- Details: 7–9 pt
11. Choosing Colors and Branding Elements
Color Tips:
- Stick to brand colors
- Use contrast for readability
- Avoid too many colors
Branding Elements:
- Logo
- Icons
- Patterns
12. Adding Logos and Icons
Use high-quality vector logos.
Tips:
- Avoid pixelated images
- Maintain proper alignment
- Use minimal icons
13. Using Shapes, Effects, and Layout Techniques
Enhance your design with:
- Shapes (Rectangles, circles)
- Transparency effects
- Shadows (use subtly)
- Alignment tools
14. Creating Print-Ready Files
Before exporting:
- Convert text to curves
- Check alignment
- Ensure CMYK mode
- Add bleed area
15. Exporting Your Design
Best Format for Printing:
- PDF (Print-ready)
Export Settings:
- CMYK color
- 300 DPI resolution
- Include bleed
16. Common Mistakes to Avoid
- Using RGB colors
- Low-resolution images
- Too much text
- Poor font choices
- Ignoring bleed
17. Pro Tips for Stunning Business Cards
- Use minimal design
- Focus on branding
- Use premium fonts
- Add QR codes
- Choose quality paper
18. Conclusion
Designing a business card in CorelDRAW is a valuable skill that can elevate your personal or professional brand. With the right tools, techniques, and creativity, you can create a business card that stands out and leaves a lasting impression.
Whether you’re designing for yourself or clients, always focus on clarity, simplicity, and brand consistency. Practice regularly, experiment with layouts, and stay updated with design trends.
Now that you’ve learned the complete step-by-step process, it’s time to open CorelDRAW and start designing your own professional business card!