


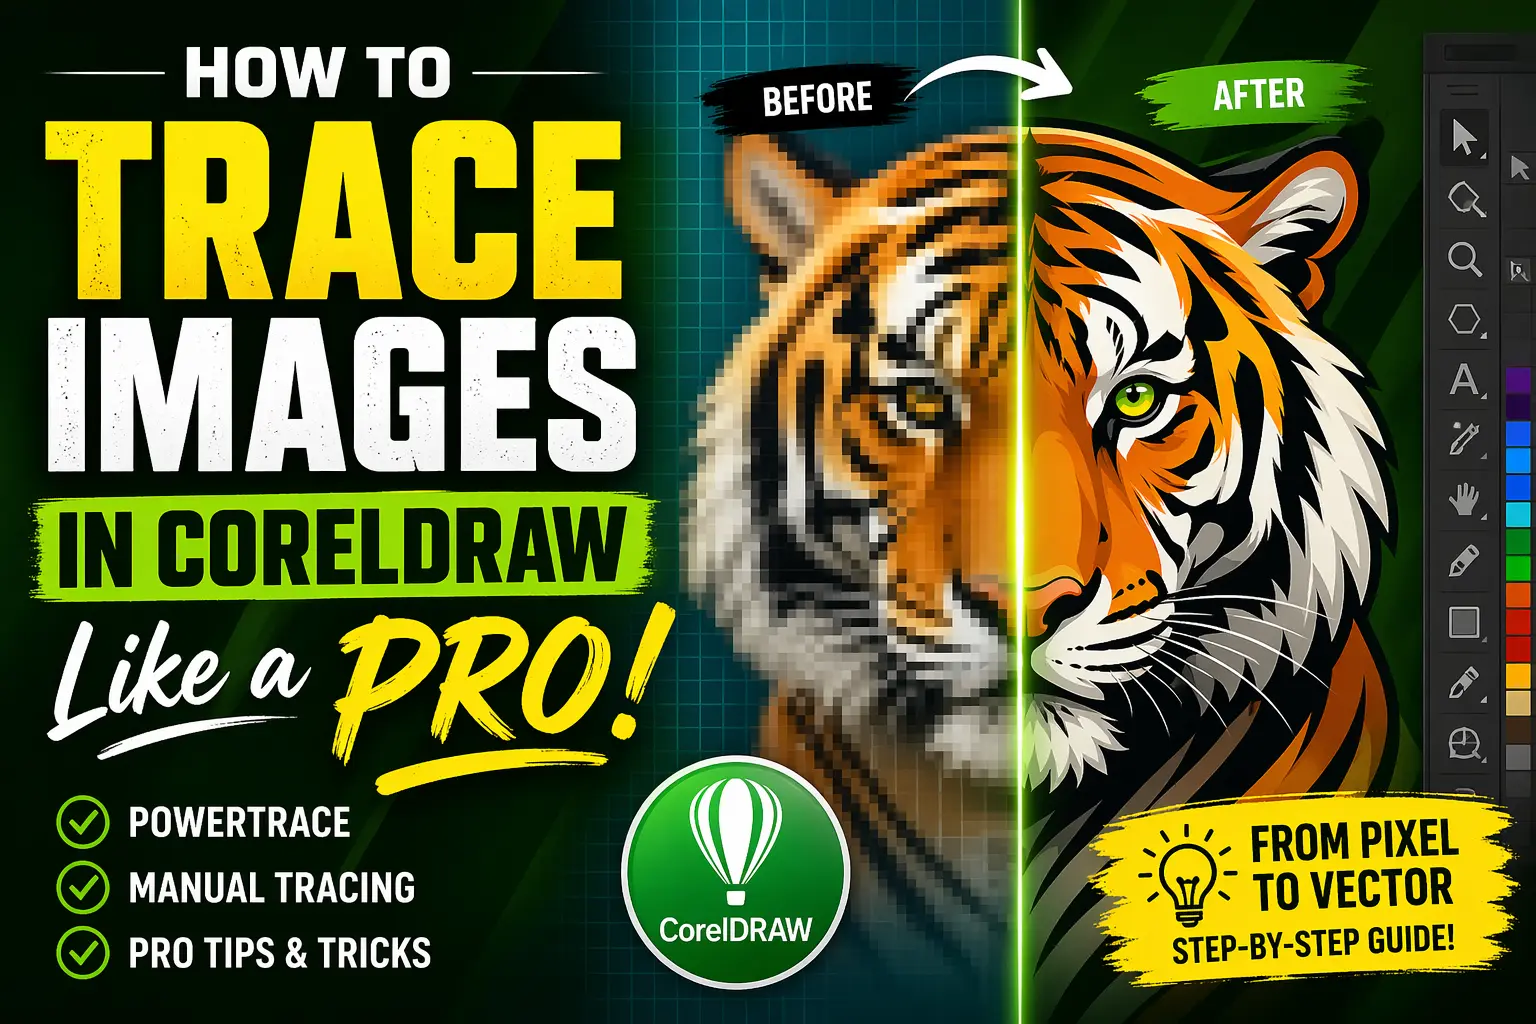
Image tracing is one of the most essential skills every graphic designer must master—especially when working with vector-based design software like CorelDRAW.
Whether you’re recreating a logo, converting a raster image into vector format, or designing scalable artwork, tracing allows you to transform low-quality images into clean, editable graphics.
If you’ve ever struggled with blurry logos, pixelated images, or complex illustrations, learning how to trace images properly can completely change your workflow.
This guide will take you from beginner to advanced level, helping you trace images in CorelDRAW like a professional designer.
What is Image Tracing?
Image tracing is the process of converting a raster image (made of pixels) into a vector graphic (made of paths). Raster images lose quality when resized, while vector graphics remain sharp at any size.
Raster vs Vector Quick Comparison
| Feature | Raster Image | Vector Image |
|---|---|---|
| Format | JPG, PNG, BMP | SVG, AI, CDR |
| Quality | Pixel-based | Resolution independent |
| Scalability | Poor | Excellent |
| Editing | Limited | Fully editable |
Why Use CorelDRAW for Image Tracing?
CorelDRAW is one of the most powerful tools for vector illustration and tracing. It offers:
- Built-in PowerTRACE feature
- High accuracy tracing tools
- Advanced node editing
- Smooth curve control
- Easy export options
Whether you’re designing logos, illustrations, or print materials, CorelDRAW provides unmatched control over vector graphics.
Types of Image Tracing in CorelDRAW
There are mainly two methods:
1. Automatic Tracing (PowerTRACE)
- Fast and efficient
- Best for simple designs
- Ideal for beginners
2. Manual Tracing
- Highly accurate
- Best for complex artwork
- Used by professionals
Method 1: How to Trace Images Using PowerTRACE
Step-by-Step Guide
Step 1: Import Your Image
- Open CorelDRAW
- Go to File → Import (Ctrl + I)
- Select your image
Step 2: Select the Image
Click on the imported image to activate tracing options.
Step 3: Open PowerTRACE
Go to:
- Bitmap → Outline Trace
- Choose a preset:
- Clipart
- Logo
- Detailed Logo
- High Quality Image
Step 4: Adjust Settings
Once PowerTRACE opens, you’ll see multiple controls:
Detail
Controls how much detail is captured.
Smoothing
Reduces sharp edges and noise.
Corner Smoothness
Controls curve sharpness.
Remove Background
Automatically deletes background areas.
Color Mode
- Black & White
- Grayscale
- Full Color
Step 5: Preview and Apply
- Use split preview
- Adjust settings until satisfied
- Click OK
Method 2: Manual Tracing (Professional Technique)
Manual tracing gives you full control and is used for high-quality designs.
Step-by-Step Process
Step 1: Lock the Image
- Place image on canvas
- Reduce opacity (20–40%)
- Lock the layer
Step 2: Use Bezier Tool
- Select Bezier Tool (B)
- Start outlining the image
Step 3: Create Nodes
- Click to create points
- Drag for curves
- Keep nodes minimal
Step 4: Shape Refinement
Use:
- Shape Tool (F10)
- Adjust curves
- Smooth edges
Step 5: Fill and Outline
- Apply colors
- Remove outline if needed
Best Settings for Perfect Tracing
For Logos
- Use Detailed Logo preset
- Reduce colors to 2–5
- Increase smoothing slightly
For Photos
- Use High Quality Image
- Increase detail
- Use color mode
For Line Art
- Use Black and White
- High contrast settings
Advanced PowerTRACE Tips
1. Reduce Colors for Clean Output
Too many colors make designs messy. Limit colors for better control.
2. Remove Background Smartly
Use “Remove Background” and adjust tolerance carefully.
3. Use Preview Mode
Always check before applying.
4. Combine with Manual Editing
Automatic tracing isn’t perfect—refine manually.
Manual Tracing Pro Tips
Keep Nodes Minimal
More nodes = messy design.
Use Curves Instead of Lines
Smooth curves create professional designs.
Zoom In While Tracing
Work at 200–400% zoom for accuracy.
Use Layers
Separate elements for better control.
Common Mistakes to Avoid
1. Over-tracing
Too many nodes ruin smoothness.
2. Ignoring Image Quality
Low-quality images produce poor results.
3. Not Cleaning Up
Always refine after tracing.
4. Using Wrong Preset
Choose correct PowerTRACE setting.
How to Trace Logos Perfectly
Step-by-Step
- Import logo
- Use Detailed Logo tracing
- Reduce colors
- Clean nodes manually
- Align shapes precisely
How to Trace Sketches and Drawings
- Scan or import sketch
- Increase contrast
- Use Bezier Tool
- Smooth curves
- Add color layers
How to Convert JPG to Vector in CorelDRAW
- Import JPG
- Use PowerTRACE
- Adjust settings
- Convert to curves (Ctrl + Q)
- Edit nodes
Node Editing Mastery
Node editing is where beginners become professionals.
Types of Nodes
- Cusp Node
- Smooth Node
- Symmetrical Node
Tools to Use
- Shape Tool
- Convert Line to Curve
- Smooth Tool
Tracing for Different Design Needs
Print Design
- High precision required
- Use manual tracing
Web Graphics
- Optimize file size
- Use fewer nodes
Large Format Printing
- Use vector for scalability
Speed vs Quality: What to Choose?
| Scenario | Method |
|---|---|
| Quick project | PowerTRACE |
| Professional logo | Manual |
| Complex artwork | Hybrid approach |
Hybrid Tracing Method (Best Practice)
Professionals often combine both methods:
- Use PowerTRACE
- Convert to curves
- Manually refine nodes
- Adjust colors
Keyboard Shortcuts for Faster Tracing
| Action | Shortcut |
|---|---|
| Import Image | Ctrl + I |
| Shape Tool | F10 |
| Bezier Tool | B |
| Zoom In | F2 |
| Convert to Curves | Ctrl + Q |
How to Improve Tracing Quality
- Use high-resolution images
- Increase contrast before tracing
- Simplify shapes
- Use fewer colors
- Clean nodes manually
Exporting Your Traced Image
After tracing:
Export Formats
- SVG (best for web)
- PNG (transparent)
- PDF (print-ready)
- EPS (professional use)
Real-World Use Cases
- Logo redesign
- Vector illustrations
- T-shirt printing
- Sticker design
- Branding projects
Pro Designer Workflow
Here’s how professionals trace images:
- Analyze image complexity
- Choose tracing method
- Use PowerTRACE as base
- Refine manually
- Optimize nodes
- Apply final styling
Frequently Asked Questions (FAQs)
Is PowerTRACE enough for professional work?
Yes, but manual refinement is required.
Which is better: automatic or manual tracing?
Manual tracing offers better accuracy, but automatic is faster.
Can I trace low-quality images?
Yes, but results may need heavy editing.
How long does tracing take?
Depends on complexity—anywhere from minutes to hours.
Expert Tips to Become a Pro
- Practice daily
- Study real logos
- Focus on curves and symmetry
- Learn node editing deeply
- Combine tools effectively
Conclusion
Tracing images in CorelDRAW is more than just clicking a button—it’s an art that combines technical skill and creative precision.
While PowerTRACE offers a fast starting point, true professionalism comes from manual refinement and attention to detail.
By mastering both automatic and manual tracing techniques, you can create clean, scalable, and high-quality vector graphics that stand out in any project.
Whether you’re designing logos, illustrations, or print materials, these skills will elevate your design game to the next level.