


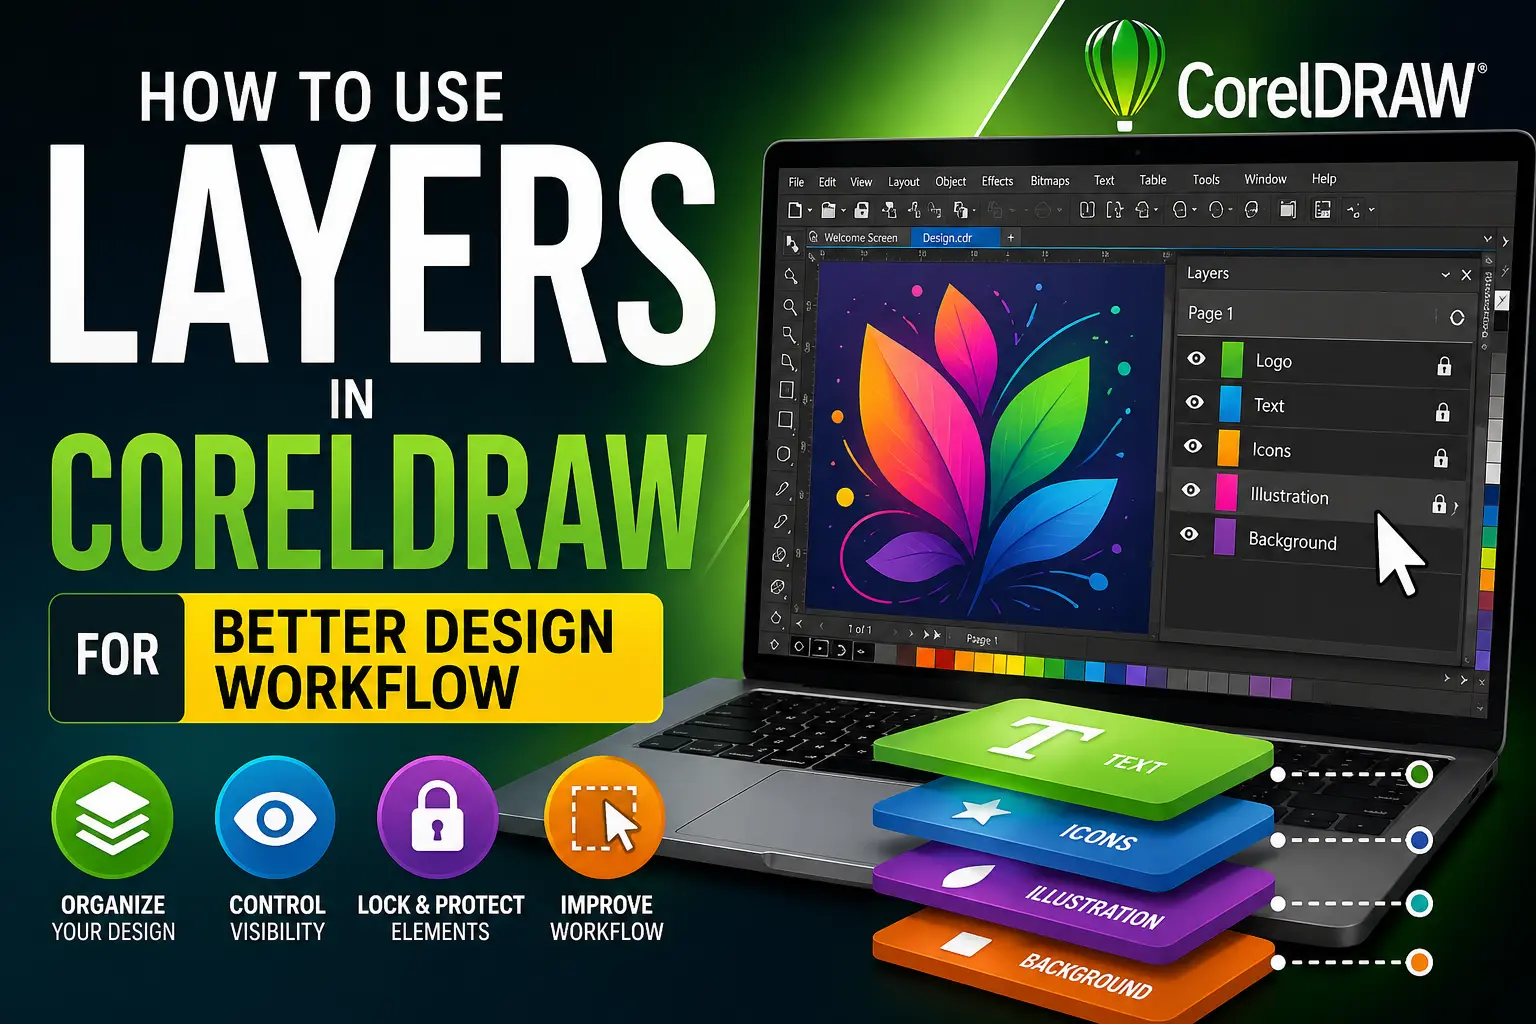
If you want to design like a professional in CorelDRAW, mastering layers is absolutely essential. Layers are the backbone of organized, efficient, and scalable design workflows.
Whether you’re creating logos, social media graphics, print materials, or complex illustrations, understanding how to use layers properly can save you hours of time and prevent frustrating mistakes.
In this in-depth guide, you’ll learn everything about using layers in CorelDRAW—from basic concepts to advanced techniques used by professional designers.
What Are Layers in CorelDRAW?
Layers in CorelDRAW are like transparent sheets stacked on top of each other. Each layer can contain different objects such as text, shapes, images, or effects.
Think of it like this:
- Background layer → colors or textures
- Middle layer → images or graphics
- Top layer → text or highlights
Each layer works independently, which means you can edit, move, or lock elements without affecting others.
Why Layers Are Important in Design Workflow
Using layers properly provides several key advantages:
1. Better Organization
You can separate elements like text, images, and backgrounds into different layers.
2. Faster Editing
Instead of selecting objects one by one, you can work on entire layers.
3. Error Reduction
Locking layers prevents accidental changes.
4. Professional Workflow
Large projects become manageable and scalable.
Understanding Layer Types in CorelDRAW
CorelDRAW provides different types of layers:
1. Master Layers
These layers appear on all pages. Useful for:
- Headers
- Footers
- Watermarks
2. Local Layers
These are page-specific layers. Ideal for:
- Page-based designs
- Multi-page documents
3. Guides Layer
Used for alignment and layout structure.
4. Desktop Layer
Used for storing objects outside the page.
How to Open the Layers Panel
To start working with layers:
- Go to Window
- Click on Dockers
- Select Objects (or Layers panel in older versions)
You’ll now see all layers in your document.
Creating and Managing Layers
Creating a New Layer
- Click on “New Layer”
- Rename it for clarity (e.g., “Text”, “Background”)
Renaming Layers
- Double-click on layer name
- Enter a meaningful name
Deleting Layers
- Right-click → Delete
Reordering Layers
- Drag and drop layers up or down
Essential Layer Controls
1. Visibility (Eye Icon)
Hide or show layers instantly.
2. Lock/Unlock Layer
Prevent editing by locking layers.
3. Print/Non-Print Layers
Control which layers appear in final output.
4. Editable Toggle
Make layers editable or non-editable.
Working with Objects Inside Layers
Every object you create is automatically placed inside the active layer.
Moving Objects Between Layers
- Select object
- Drag it to another layer in panel
Grouping Objects
- Select multiple objects
- Press Ctrl + G
Ungrouping
- Press Ctrl + U
Layer Naming Best Practices
Avoid generic names like:
- Layer 1
- Layer 2
Instead use:
- Background
- Logo
- Text Header
- Icons
This improves workflow significantly.
Using Layers for Different Design Projects
1. Logo Design
Use separate layers for:
- Icon
- Text
- Variations
2. Social Media Graphics
- Background
- Main Content
- CTA Text
3. Print Design
- Bleed area
- Content
- Guidelines
Advanced Layer Techniques
1. Using Master Layers Efficiently
Add repeating elements like logos across pages.
2. Layer Effects Management
Apply effects like shadows on specific layers.
3. Clipping Masks with Layers
Control visibility of objects inside shapes.
4. Using PowerClip
Place objects inside containers for better control.
Tips to Speed Up Your Workflow
- Always name layers
- Lock finished layers
- Use shortcuts
- Keep design minimal and clean
- Use color-coded layers (if supported)
Common Mistakes to Avoid
- Not using layers at all
- Keeping everything in one layer
- Not naming layers
- Accidentally editing locked objects
- Overusing too many layers unnecessarily
Real-World Workflow Example
Let’s say you are designing a YouTube thumbnail:
Layer Structure:
- Background
- Image Cutout
- Text Main
- Text Shadow
- Icons
This structure makes editing super fast.
Keyboard Shortcuts for Layers
- Ctrl + G → Group
- Ctrl + U → Ungroup
- Ctrl + Page Up/Down → Move layers
Pro Designer Tips
- Use fewer but meaningful layers
- Combine layers when finalizing
- Export with clean structure
- Use templates with predefined layers
Conclusion
Layers are one of the most powerful features in CorelDRAW. Once you master them, your design workflow becomes faster, cleaner, and more professional.
If you’re serious about graphic design in 2026, learning layers is not optional—it’s essential.
Start applying these techniques today and you’ll immediately notice a huge improvement in your efficiency and design quality.
FAQs
What are layers in CorelDRAW?
Layers are separate levels used to organize design elements.
How many layers should I use?
Use only as many as needed—keep it clean and organized.
Can I lock layers?
Yes, locking prevents accidental edits.
Do layers affect printing?
Only visible and printable layers appear in output.