


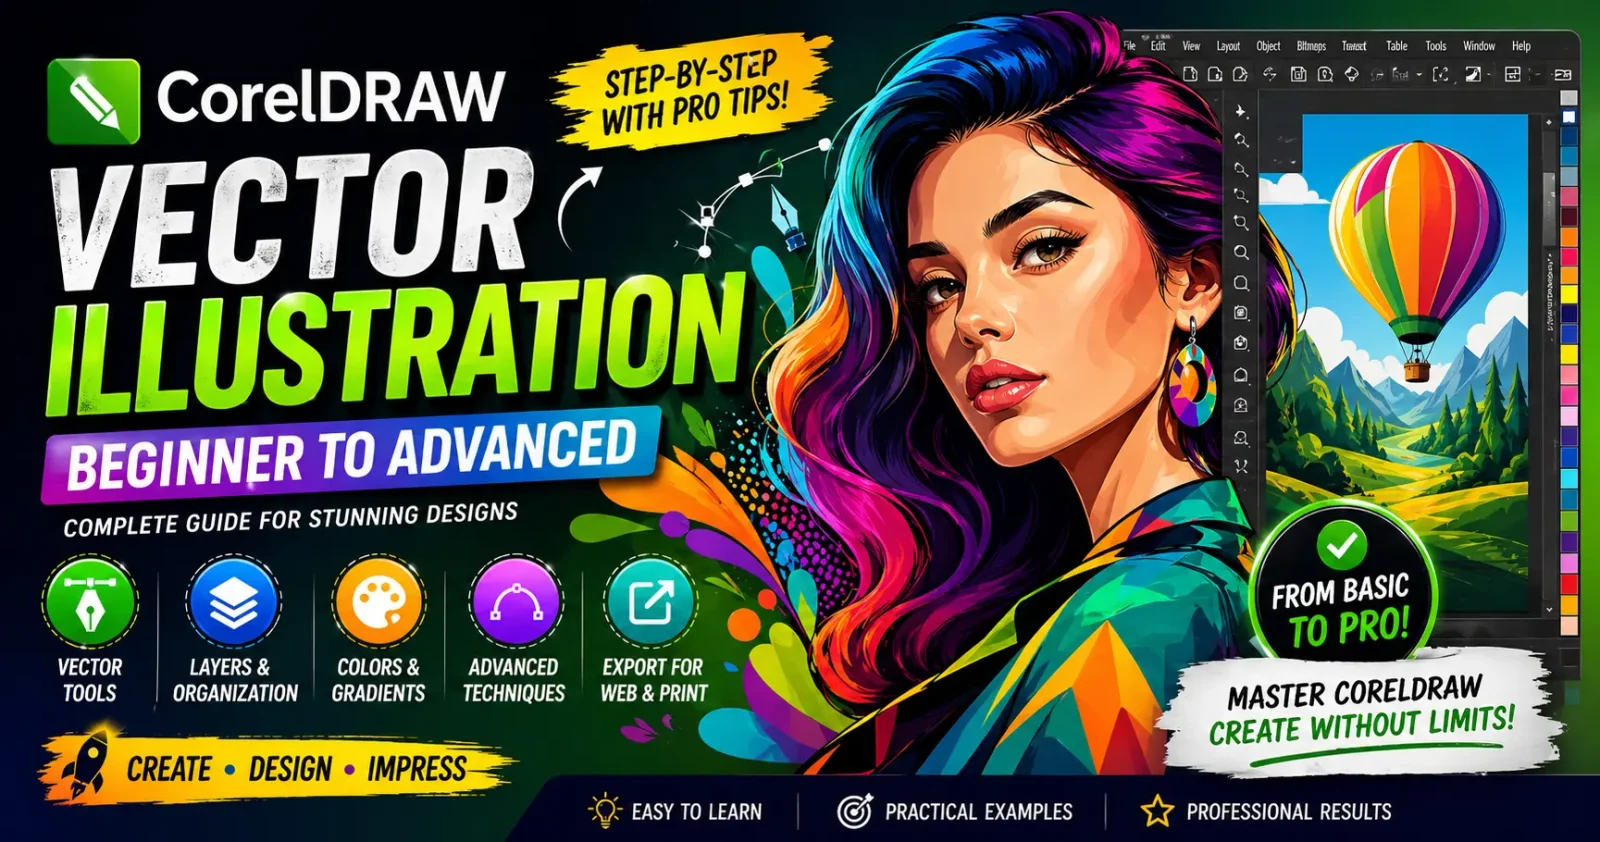
Vector illustration is one of the most powerful skills a designer can develop in today’s digital world. Whether you’re designing logos, social media graphics, business branding, or digital art, vector graphics offer unmatched flexibility, scalability, and precision.
If you want to master vector illustration, CorelDRAW is one of the best tools available. Known for its intuitive interface and powerful features, CorelDRAW allows beginners to get started easily while offering advanced tools for professionals.
In this comprehensive guide, you’ll learn everything—from basic tools to advanced illustration techniques—so you can confidently create professional vector artwork.
What is Vector Illustration?
Vector illustration uses mathematical paths instead of pixels to create images. Unlike raster graphics (like JPG or PNG), vector images can be scaled infinitely without losing quality.
Key Advantages:
- Infinite scalability (no pixelation)
- Smaller file sizes
- Easy editing
- Perfect for print & digital design
Common Uses:
- Logo design
- Icon creation
- Branding materials
- Illustrations
- Infographics
Understanding CorelDRAW Interface
Before diving into illustration, you need to understand the workspace.
Main Areas:
- Property Bar – Context-based options
- Toolbox – All drawing tools
- Dockers Panel – Advanced settings
- Color Palette – Quick color selection
- Canvas (Page) – Your working area
Pro Tip:
Customize your workspace based on your workflow to improve speed and efficiency.
Essential Tools for Vector Illustration
1. Pick Tool
Used to select, move, resize, and rotate objects.
2. Shape Tool
Allows you to edit nodes and curves.
3. Bezier Tool
One of the most important tools for creating precise vector paths.
4. Pen Tool
Used for drawing smooth curves and shapes.
5. Rectangle & Ellipse Tools
Basic shapes that form the foundation of complex illustrations.
6. Freehand Tool
Ideal for sketch-style illustrations.
Beginner Level: Creating Your First Vector Illustration
Let’s start with a simple example: Creating a basic icon
Step 1: Create Basic Shapes
- Use rectangle and ellipse tools
- Combine shapes to form a base
Step 2: Use Colors
- Apply fill color
- Remove outlines if needed
Step 3: Align Objects
- Use alignment tools for precision
Step 4: Group Objects
- Select all elements and group them
Step 5: Export
- Export as PNG, SVG, or PDF
Understanding Nodes and Paths
Vector illustrations are built using nodes and paths.
Types of Nodes:
- Cusp nodes
- Smooth nodes
- Symmetrical nodes
Editing Tips:
- Use fewer nodes for smoother curves
- Adjust handles carefully
- Keep shapes clean and simple
Intermediate Techniques
Once you’re comfortable with basics, move to intermediate techniques.
1. Working with Layers
Layers help organize complex illustrations.
Benefits:
- Better organization
- Easier editing
- Improved workflow
2. Using the Shape Builder Tool
Combine or subtract shapes easily.
Example:
- Create icons
- Build complex objects
3. Transparency Effects
Add depth using:
- Opacity adjustments
- Gradient transparency
4. Gradients and Fills
Use:
- Linear gradients
- Radial gradients
- Fountain fills
5. Outline vs Fill
Understand the difference:
- Outline: Border
- Fill: Inner color
Advanced Vector Illustration Techniques
Now let’s take your skills to the professional level.
1. Creating Custom Illustrations from Sketch
Process:
- Import sketch
- Lock the layer
- Trace using Bezier tool
- Refine curves
- Add colors
2. Using PowerClip
Place objects inside shapes.
Example:
- Masking images
- Creative compositions
3. Advanced Color Techniques
- Color harmony
- Custom palettes
- Global colors
4. Mesh Fill Tool
Create realistic shading.
Use Cases:
- Portraits
- Product illustrations
5. Blending and Effects
- Blend tool
- Drop shadows
- Contour effects
Creating Professional Illustrations
Example: Character Design
Steps:
- Sketch idea
- Create base shapes
- Refine with nodes
- Add colors
- Add shadows
- Final detailing
Example: Logo Illustration
Tips:
- Keep it simple
- Use minimal colors
- Focus on scalability
Typography in Vector Illustration
Text plays a crucial role in design.
Techniques:
- Convert text to curves
- Customize fonts
- Apply effects
Working with Colors Like a Pro
Color Modes:
- RGB (Digital)
- CMYK (Print)
Tips:
- Use consistent palette
- Avoid too many colors
- Maintain contrast
Exporting Your Artwork
Common Formats:
- PNG (web use)
- SVG (vector web)
- PDF (print)
- AI (compatibility)
Common Mistakes to Avoid
- Too many nodes
- Poor alignment
- Overusing effects
- Ignoring color harmony
- Not using layers
Tips to Improve Your Workflow
- Use shortcuts
- Save custom presets
- Practice daily
- Analyze professional designs
Best Practices for Vector Illustration
- Keep designs clean
- Use grids and guides
- Maintain consistency
- Organize layers properly
Real-World Applications
Vector illustration is used in:
- Branding agencies
- Freelancing
- Social media design
- UI/UX design
- Print media
Tools & Resources to Learn More
- Online tutorials
- Design communities
- Practice challenges
Conclusion
Creating vector illustrations in CorelDRAW is a skill that grows with practice and creativity. Starting from basic shapes and gradually mastering advanced tools, you can create stunning, professional-quality designs.
Whether you are a beginner or an experienced designer, the key lies in consistent practice, experimentation, and learning new techniques.
Final Thoughts
Vector illustration is not just about tools—it’s about creativity, problem-solving, and visual storytelling. With the right approach and dedication, you can turn simple ideas into powerful visual designs.